
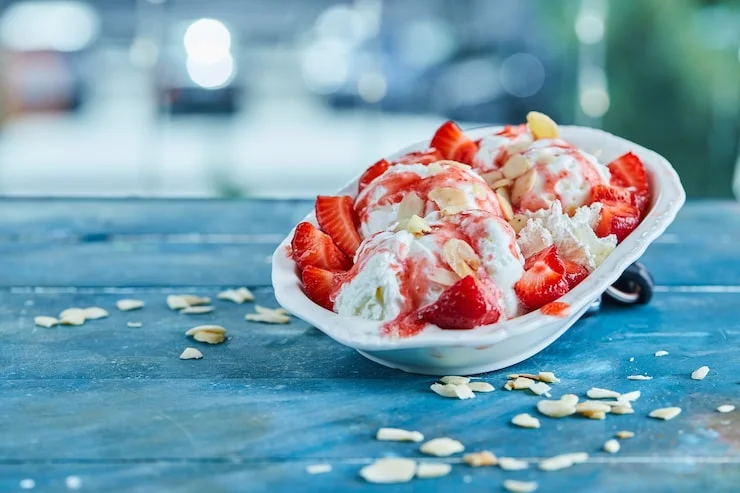
Making strawberry ice cream at home with fresh strawberries gives you a scoop that tastes like real fruit, not candy flavoring. The secret is a smooth custard base and strawberries prepared the right way before they go into the freezer.
This recipe uses egg yolks for richness and fresh strawberries for a bright, natural taste. You do not need special skills. You need a pot, a bowl, a whisk, and an ice cream maker. If you do not have a machine, this guide explains what to do at the end.
Why This Recipe Works?
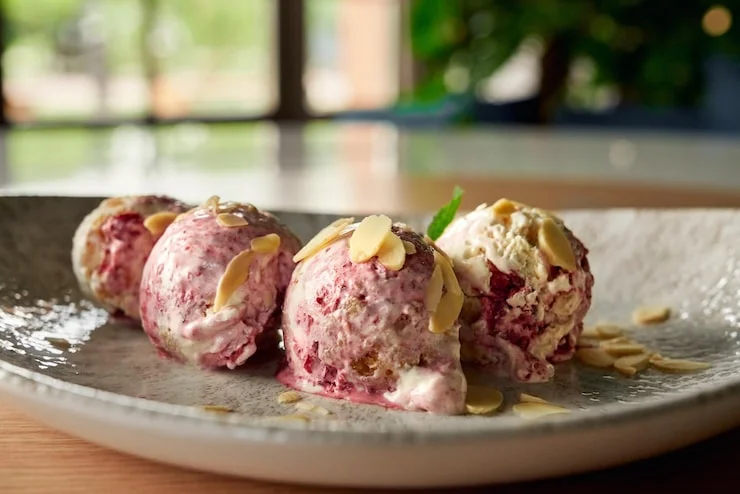
Most homemade strawberry ice cream fails for two reasons. The first is ice crystals. The second is weak strawberry flavor.
This recipe solves both. Egg yolks add fat and smoothness to the base, which helps prevent large ice crystals from forming . The strawberries get mixed with sugar and left to sit. This step pulls juice out of the fruit and turns it into a sweet syrup. That syrup carries deep strawberry taste into every homemade strawberry ice cream recipe with fresh strawberries.
You also cook the custard gently until it thickly coats the back of a spoon. This step is important. It makes the final ice cream creamy instead of watery.
What You Need?
For the strawberry mixture:
- 1 pound fresh strawberries, washed, dried, and hulled
- ½ cup white sugar
- 1 teaspoon fresh lemon juice
For the custard base:
- 1 ¼ cups whole milk
- 1 ⅓ cups heavy cream
- ½ cup white sugar
- 6 large egg yolks
- ¼ teaspoon salt
- 1 teaspoon vanilla extract
Equipment:
- Medium pot
- Whisk
- Two medium bowls
- Fine mesh strainer
- Ice cream maker
- Freezer-safe container with a lid
You May Also Like: Ninja Creami Cottage Cheese Ice Cream Recipe
Step by Step Instructions
Step 1: Prepare the Strawberries
Put the hulled strawberries in a bowl. Add ½ cup of sugar and the lemon juice. Use a potato masher or the back of a fork to crush the berries. You want a rough mix with some small fruit pieces left. Do not puree them into a smooth liquid.
Let the bowl sit on the counter for 40 to 45 minutes. Stir it a few times. The sugar will pull liquid out of the berries and create a red syrup . This is exactly what you want.
Step 2: Start the Custard Base
While the berries sit, pour the milk, heavy cream, ½ cup of sugar, and salt into a medium pot. Warm it over medium heat. Stir now and then. You are looking for steam to rise from the pot. Small bubbles should form at the edges. Do not let it boil.
Step 3: Beat the Egg Yolks
In a separate bowl, whisk the egg yolks with the remaining ¼ cup of sugar. Keep whisking until the mix turns pale yellow and feels slightly thick.
Step 4: Temper the Eggs
This step stops the eggs from cooking into scrambled bits. Slowly pour about half a cup of the warm milk mix into the yolks while whisking fast. Do this one small splash at a time. Once the yolk mix is warm, pour it all back into the pot with the rest of the milk mix.
Step 5: Cook Until Thick
Put the pot back on medium heat. Stir constantly with a wooden spoon or spatula. Scrape the bottom of the pot as you stir. The custard is ready when it thickly coats the back of your spoon and you can draw a line through the coating with your finger . This takes about 5 to 8 minutes. Do not let it boil.
Step 6: Strain and Chill
Pour the custard through a fine mesh strainer into a clean bowl. This catches any small egg bits that may have cooked too fast. Stir in the vanilla extract.
Cover the bowl with plastic wrap. Press the wrap directly onto the surface of the custard. This stops a skin from forming. Put the bowl in the fridge for at least 3 hours, or until it is completely cold .
Step 7: Combine Strawberries and Custard
Once the custard is cold, stir in the strawberry mix. Include all the red syrup at the bottom of the bowl. Taste it. If you want a stronger lemon kick, add a few drops more lemon juice.
Step 8: Churn the Ice Cream
Pour the mix into your ice cream maker. Follow the maker's instructions for churning. Most machines take 20 to 25 minutes. The ice cream is done churning when it looks like soft serve.
Step 9: Freeze Until Firm
Move the ice cream into a freezer-safe container. Press a piece of plastic wrap onto the surface, then put the lid on. Freeze for at least 2 hours. This lets it firm up enough to scoop.
Tips for the Best Texture
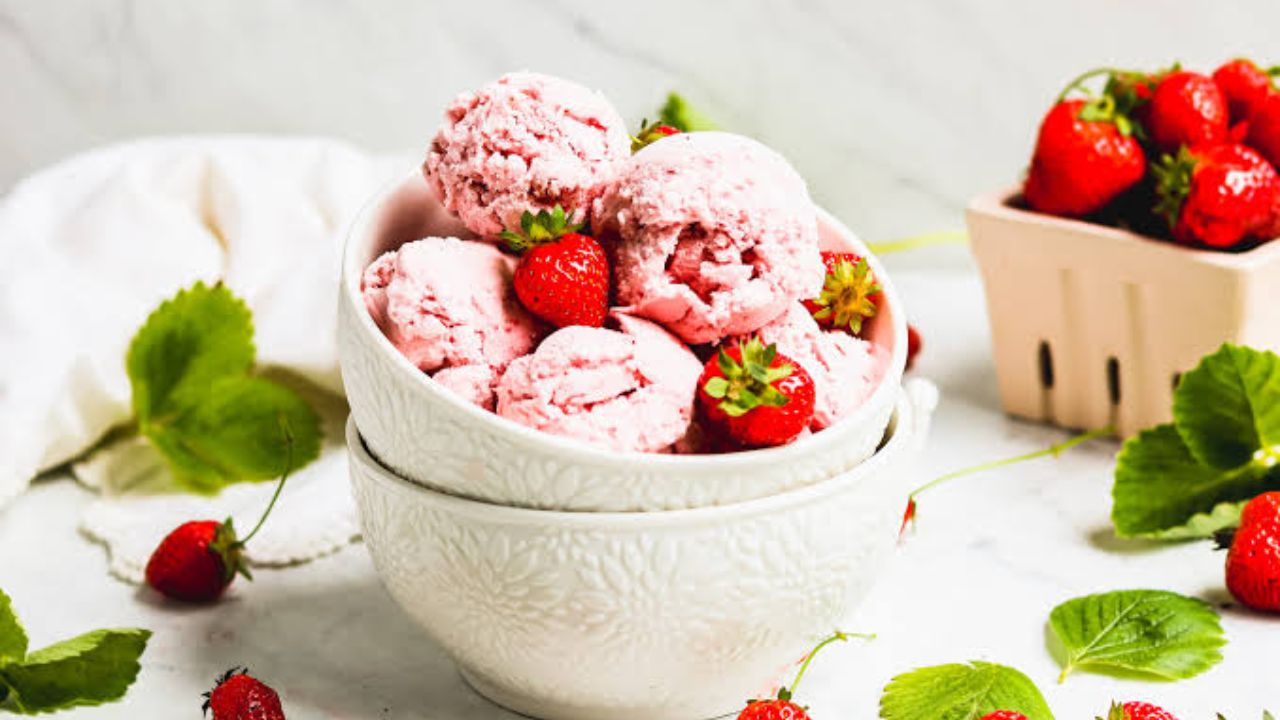
Chill everything. The colder your custard is before churning, the smaller the ice crystals will be. Small crystals mean smooth ice cream. A warm base makes icy ice cream.
Do not skip the salt. Salt does not make ice cream salty. It makes the sweet taste stronger and rounds out the flavor.
Use full-fat dairy. Heavy cream and whole milk give the ice cream body. Do not swap in low-fat milk or the result will be thin and hard.
Add a small splash of vodka if you want softer ice cream. One or two tablespoons of vodka or another clear spirit lower the freezing point. This keeps the ice cream scoopable straight from the freezer . You will not taste it. This step is homemade strawberry ice cream recipe with fresh strawberries.
Read: Healthy Banana Ice Cream Recipe Without Sugar
FAQs
Can I make this without an ice cream maker?
Yes. Pour the cold mix into a shallow pan, like a metal brownie pan. Put it in the freezer. Every 30 minutes, take it out and stir it hard with a fork or whisk. Do this for 3 to 4 hours. The stirring breaks up ice crystals. The result is less smooth than machine-churned ice cream, but it still tastes good.
Why is my ice cream hard as a rock?
Homemade ice cream freezes harder than store-bought brands because it has less air and fewer additives. Let the container sit on the counter for 5 to 10 minutes before you scoop. Do not let it melt fully. Just soften the edges.
How long does it keep?
Keep it in an airtight container in the coldest part of your freezer. It is best within one week . After that, ice crystals start to grow and the texture gets grainy.
Can I use frozen strawberries?
Fresh strawberries give the best flavor and texture. Frozen berries release too much water when they thaw, which makes the ice cream icy. If you only have frozen berries, thaw them fully and drain off the liquid before mashing. The result will be less intense but still workable.
The custard looks lumpy. Can I save it?
If you see small lumps after cooking, pour the custard through a strainer right away. The lumps will stay in the strainer. If the lumps are large and the mix looks like scrambled eggs, the eggs got too hot. Start over with fresh yolks and keep the heat lower.
Storage
Put the ice cream in a container that holds it snugly. Too much empty space lets air in, which causes freezer burn and dry edges. Press plastic wrap or wax paper directly onto the surface before closing the lid. Store it in the back of the freezer, not in the door, where the temperature changes each time you open it.
For the best taste, eat it within a week. Homemade ice cream has no preservatives, so its quality drops faster than a store-bought pint.
Conclusion
This strawberry ice cream recipe takes some waiting. The berries need time with the sugar. The custard needs time to chill. But none of the steps are hard. The payoff is a bowl of ice cream that tastes like fresh strawberries and cream, with a smooth texture you made yourself. That is worth the wait.





 (1).jpg)